Sunday evening is a reasonable time to wash brushes until you realize the bathroom counter is full and the tools will still be damp on Monday morning. The weak point is often the drying plan, not a lack of cleaning accessories. A small amount of preparation makes the job easier to repeat.
The American Academy of Dermatology recommends washing makeup brushes every seven to ten days. Use that guidance alongside the brush maker's specific instructions. This routine focuses on ordinary makeup tools, suitable washing, and practical storage. It does not promise that a particular cleanser or gadget will prevent or treat a skin condition.
Make washing and complete drying easy before adding specialized equipment to the routine.
Prepare the drying space before turning on the tap
Choose a clean, flat, stable area where brushes can remain undisturbed and bristles can extend over an edge as recommended by AAD. Keep them away from the toilet, splashes, children, and pets. Set out a clean towel and make sure the handles will not roll off. A kitchen counter used for food preparation is an inconvenient shared drying area unless it can remain appropriately separated and clean.
Sort brushes by the manufacturer's cleaning requirements. Inspect for loose ferrules, shedding, damaged handles, or residue that needs attention. If you have a complicated collection but use only a few tools, wash the active tools on schedule and store clean occasional brushes separately. The size of the routine should match what is actually used.
Wash the bristles gently and thoroughly
Follow the brush maker's instructions first. AAD's general method uses lukewarm running water on the tips, a small amount of gentle shampoo or clarifying shampoo in water, gentle swirling, and thorough rinsing. Keep the handle and ferrule area out of prolonged soaking. Pay attention to instructions for natural hair, specialty shapes, or glued components rather than applying one method to every tool.
Work with one brush at a time so you can inspect the rinse water and bristles. Use light movement instead of forcing the brush hard against a textured surface. Repeat gently if residue remains. Squeeze out excess water with a clean towel and reshape the bristles. Do not treat rough scrubbing or very hot water as shortcuts to a better result.
| Item | Useful role | Limitation |
|---|---|---|
| Appropriate cleanser | Removes residue during a full wash | Must suit the brush material and instructions |
| Small textured pad | Provides a controlled surface for gentle swirling | Pressure still matters; texture is not a reason to scrub hard |
| Clean towel | Blots moisture and supports the drying arrangement | Does not make a damp brush ready for closed storage |
| Separate dirty-tool tray | Keeps used tools identifiable until washing | Needs its own regular cleaning |
Let drying finish before the organizer comes back
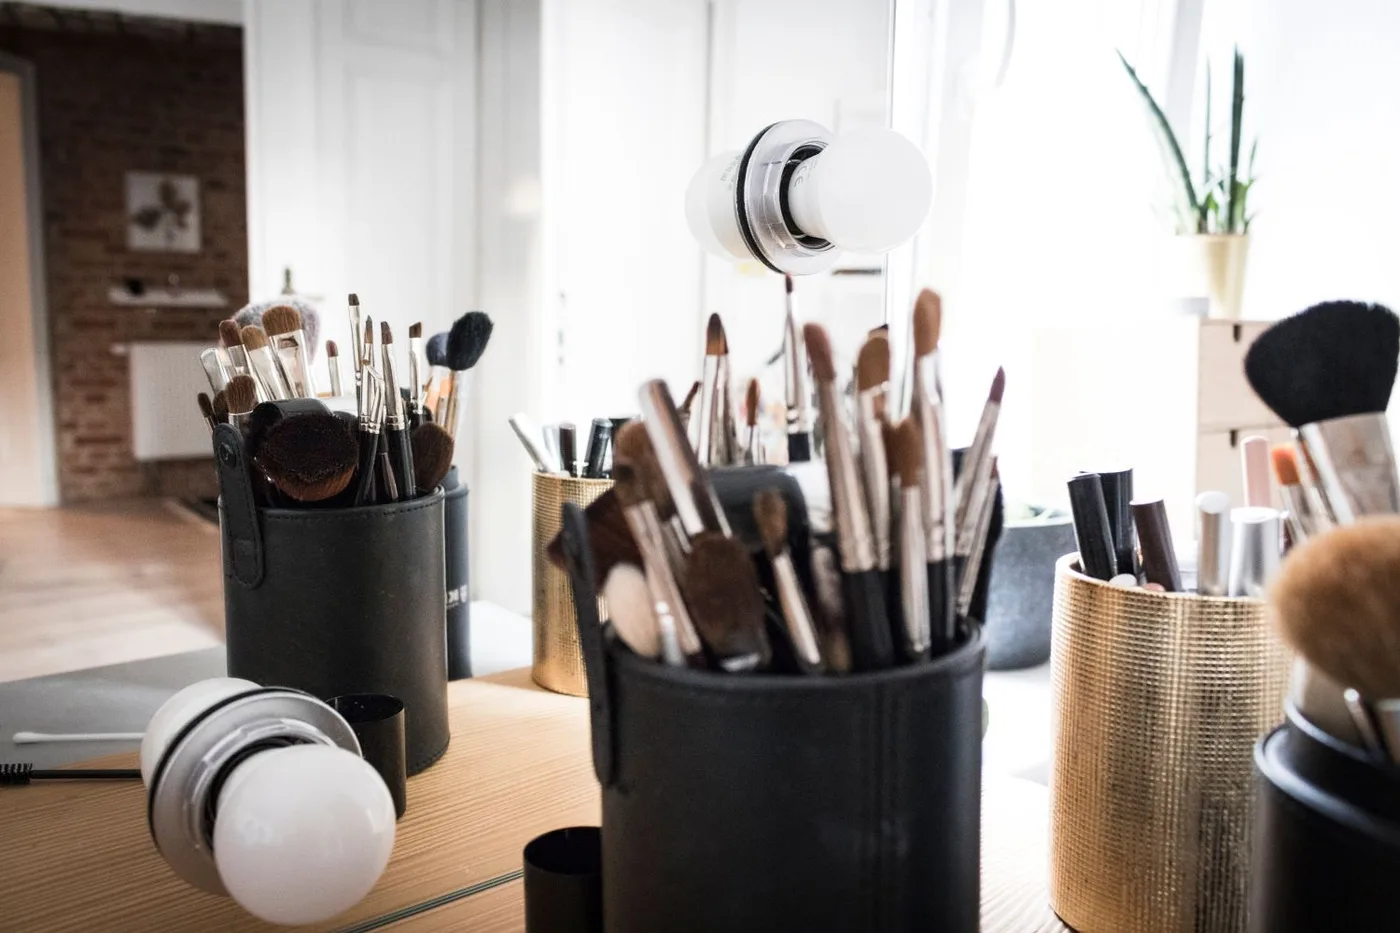
Place the cleaned brushes in the prepared drying position. AAD advises against drying them upright in a container because water can run toward the attachment area and loosen the glue. Do not bundle damp heads together or put them into a sealed pouch to clear the counter. Start the task early enough that you can leave the drying space available.
Drying time varies with the brush, conditions, and washing method, so avoid planning around an assumed fixed number of hours. Check that the brush head and attachment area are dry before returning tools to storage. If the household has only one essential brush, schedule its wash before an evening or day when it can remain unused without creating a rush.
Decide whether a cleaning pad helps your hands
A small textured pad can give you a repeatable surface without filling the sink with extra equipment. EcoTools' current silicone pad uses texture and a suction cup, and its instructions describe swirling the brush, rinsing, and laying the brush flat to dry. Consider this a handling aid, not a substitute for the washing steps or a guaranteed result.
Check where the suction cup is intended to attach and whether you can clean and dry the pad afterward. A large mat may be awkward in a tiny basin, while a small pad may suit a few brushes. Skip powered spinning gadgets if their cleaning method conflicts with the brush instructions or you cannot establish how they handle delicate components. Simpler tools are easier to assess and store.
Build a small, repeatable reset
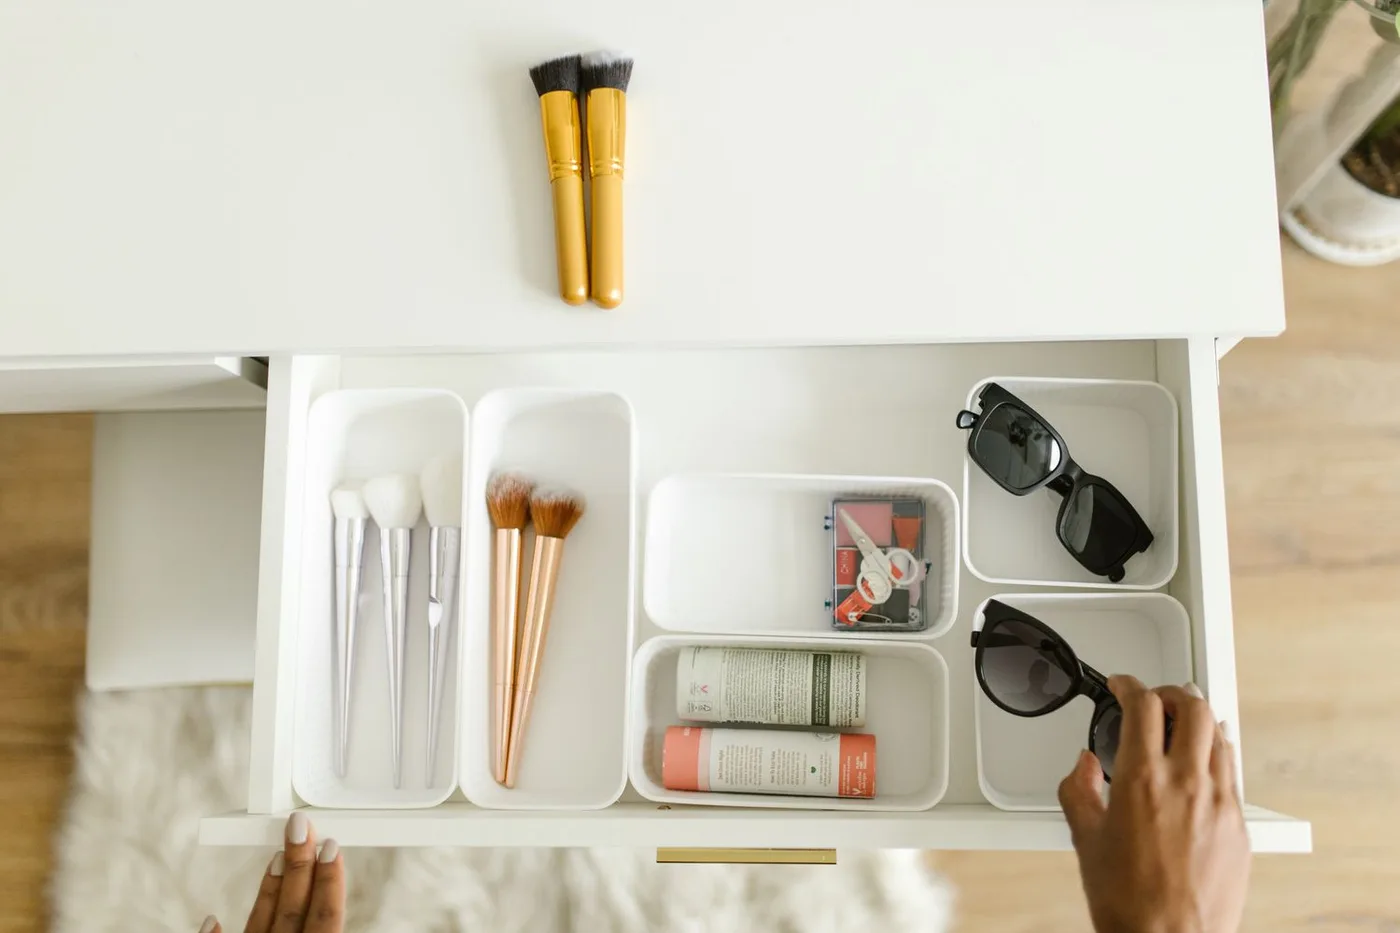
Keep a washable used-brush tray near the daily makeup area, with clean tools stored separately. Add the next washing date to a reminder you already use. Wipe the holder while the brushes are drying, and let it dry too. A clean holder prevents yesterday's powder residue from becoming the first thing a freshly washed handle touches.
Buy a dedicated pad or cleanser when the brush maker supports it and it makes the routine easier to maintain. Skip an elaborate kit when the existing suitable cleanser and towel already work for your tools. Do not share personal brushes, and follow product directions if a tool is damaged or cannot be cleaned properly. Spending less on accessories can leave more attention for the actual care routine.
Shopping notes
Use these options as a starting point, then check dimensions, current materials, care instructions, availability, and the retailer’s return policy before ordering.
EcoTools Makeup Brush Cleansing Pad
Consider it for: A small silicone surface for someone who wants a designated place to swirl brushes gently during washing.
The tradeoff: It adds one more item to rinse and dry. Check brush compatibility and use light pressure; a pad does not replace an appropriate cleanser or complete drying.
Explore at the official site External merchant link · no affiliate commissionYour questions, answered
Can I put wet brushes straight into a cup?
AAD advises drying brushes flat with the bristles extending over an edge rather than upright. Wait until they are completely dry before placing them in their normal holder.
Does a quick spray replace washing?
Follow the brush and cleaning-product directions. A quick between-use product should not be assumed to provide the same process as the full washing routine recommended for the tool.
Do I need an entire cleaning kit?
Start with the items the brush maker recommends and a suitable drying place. Add a pad only if it improves handling. Several overlapping accessories can make a short task harder to store and maintain.
Sources & further reading
Product and care details were checked against the sources below on October 18, 2026. Our practical recommendations are editorial judgments, and a listed source does not imply endorsement.
- American Academy of Dermatology: How to clean makeup brushesChecked 2026-10-18
- EcoTools: Makeup Brush Cleansing Pad instructions and careChecked 2026-10-18